
Getting Started With Hand Tools
What to actually buy first, how to read a chisel or saw, and why a sharp edge matters more than the number of tools you own.
Read the guide →Woodworking · Beginner guides · Canada
CraftBarn collects clear, unhurried woodworking guides for people starting out in Canadian workshops — from a first set of hand tools to joints that actually hold and finishes that survive a dry winter.

Guides
Each guide focuses on one skill, written for a beginner who is buying their first tools and working in a garage, basement, or small shared shop.
What to actually buy first, how to read a chisel or saw, and why a sharp edge matters more than the number of tools you own.
Read the guide →
Layout, sawing to a line, and paring to fit — the steps behind a butt joint, a rabbet, and your first dovetail.
Read the guide →
How indoor heating and humidity swings affect a finish, and how to sand, seal, and protect a piece that lives through winter.
Read the guide →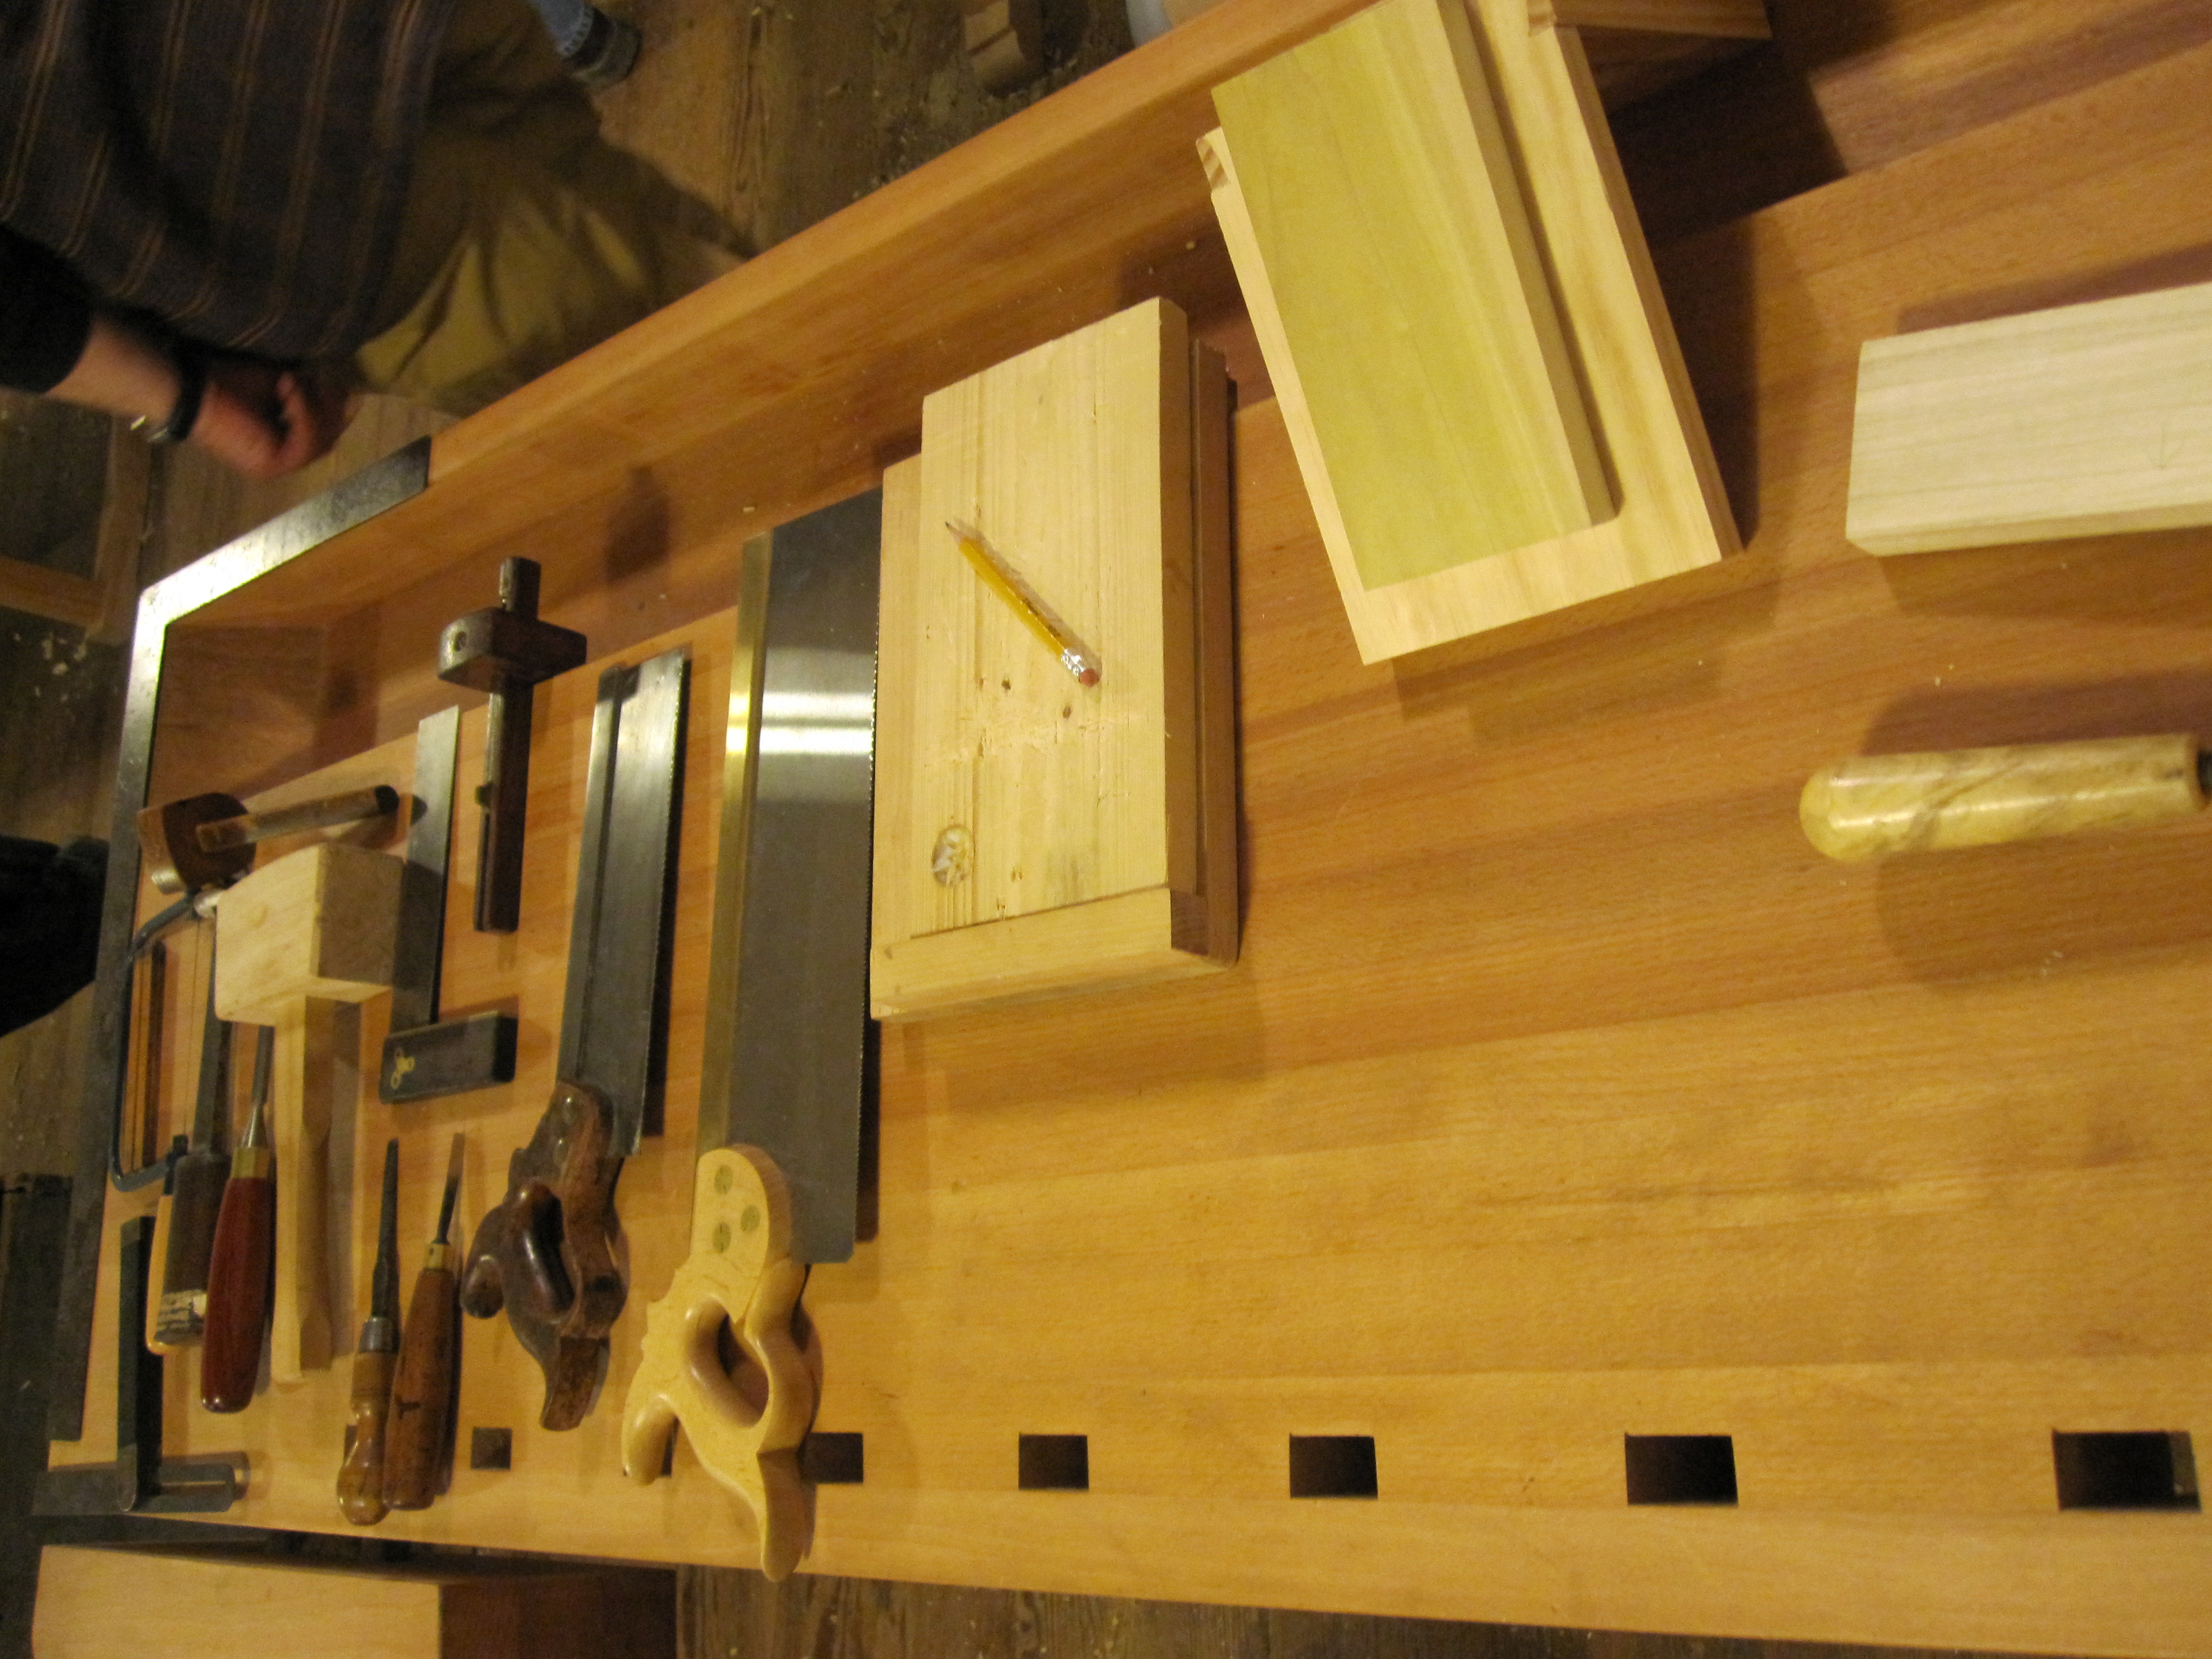
How CraftBarn works
Woodworking writing often assumes a full shop and years of practice. These guides assume neither. They break a task into ordered steps, name the tools by their common Canadian retail names, and point out the mistakes that beginners repeat.
Photographs come from Wikimedia Commons contributors so you can see real tools and joints rather than staged stock images. Where exact figures matter — drying times, humidity ranges — the guides describe ranges and point you to the manufacturer's own instructions.
A first project
Most beginner projects, like a small shelf or a step stool, follow the same four stages. Each guide on this site fits somewhere along this path.
Flatten a face, square an edge, and mark your cuts with a knife and try square rather than a pencil.
Saw to the waste side of your line, then pare to fit. A snug joint needs little glue.
Dry-fit first, spread glue thinly, and clamp until squeeze-out is even along the seam.
Work through grits, raise the grain with a damp cloth, then apply a finish suited to the room.
Contact
If a step is unclear or you spotted an error in a guide, send a note. CraftBarn is a small editorial site, so replies are not instant.